It was my friends birthday a few days ago and I just could not find that perfect gift for her 16th so I decided to make her something. I made her an Elvis purse as she loves him, if you wanted to make this yourself I have put together some instructions. I made the purse with a retroish Elvis theme but you could make it with a completely different theme.
Here we go....

1. Find the picture you want to go on your purse, this design I put onto the back.

2. Draw half the template over your design for the purse, this should be the main part of the purse and a small part for a flap

3. Fold the pattern in half and cut round it

4. Draw round the template onto the back of the fabric, I chose a faux leather

5. Do the same process but fold over the part you added for the flap and draw round the shape

6. Cut round the shapes, I also added a short line on the inside of the piece with the flap on the non flap end so that I could tell which end was the flap, this line will not be seen when the purse has been made

7. Trace the design

8. On the back of that paper over where you traced the design trace the backwards pattern

9. Place the paper with the tracing on onto the fabric and go over it with a blunt pencil

10. Paint the design, I had to use enamel paint but I think acrylic would be better

11. This is what it looks like painted, I am sure you would do a better job that is more neat

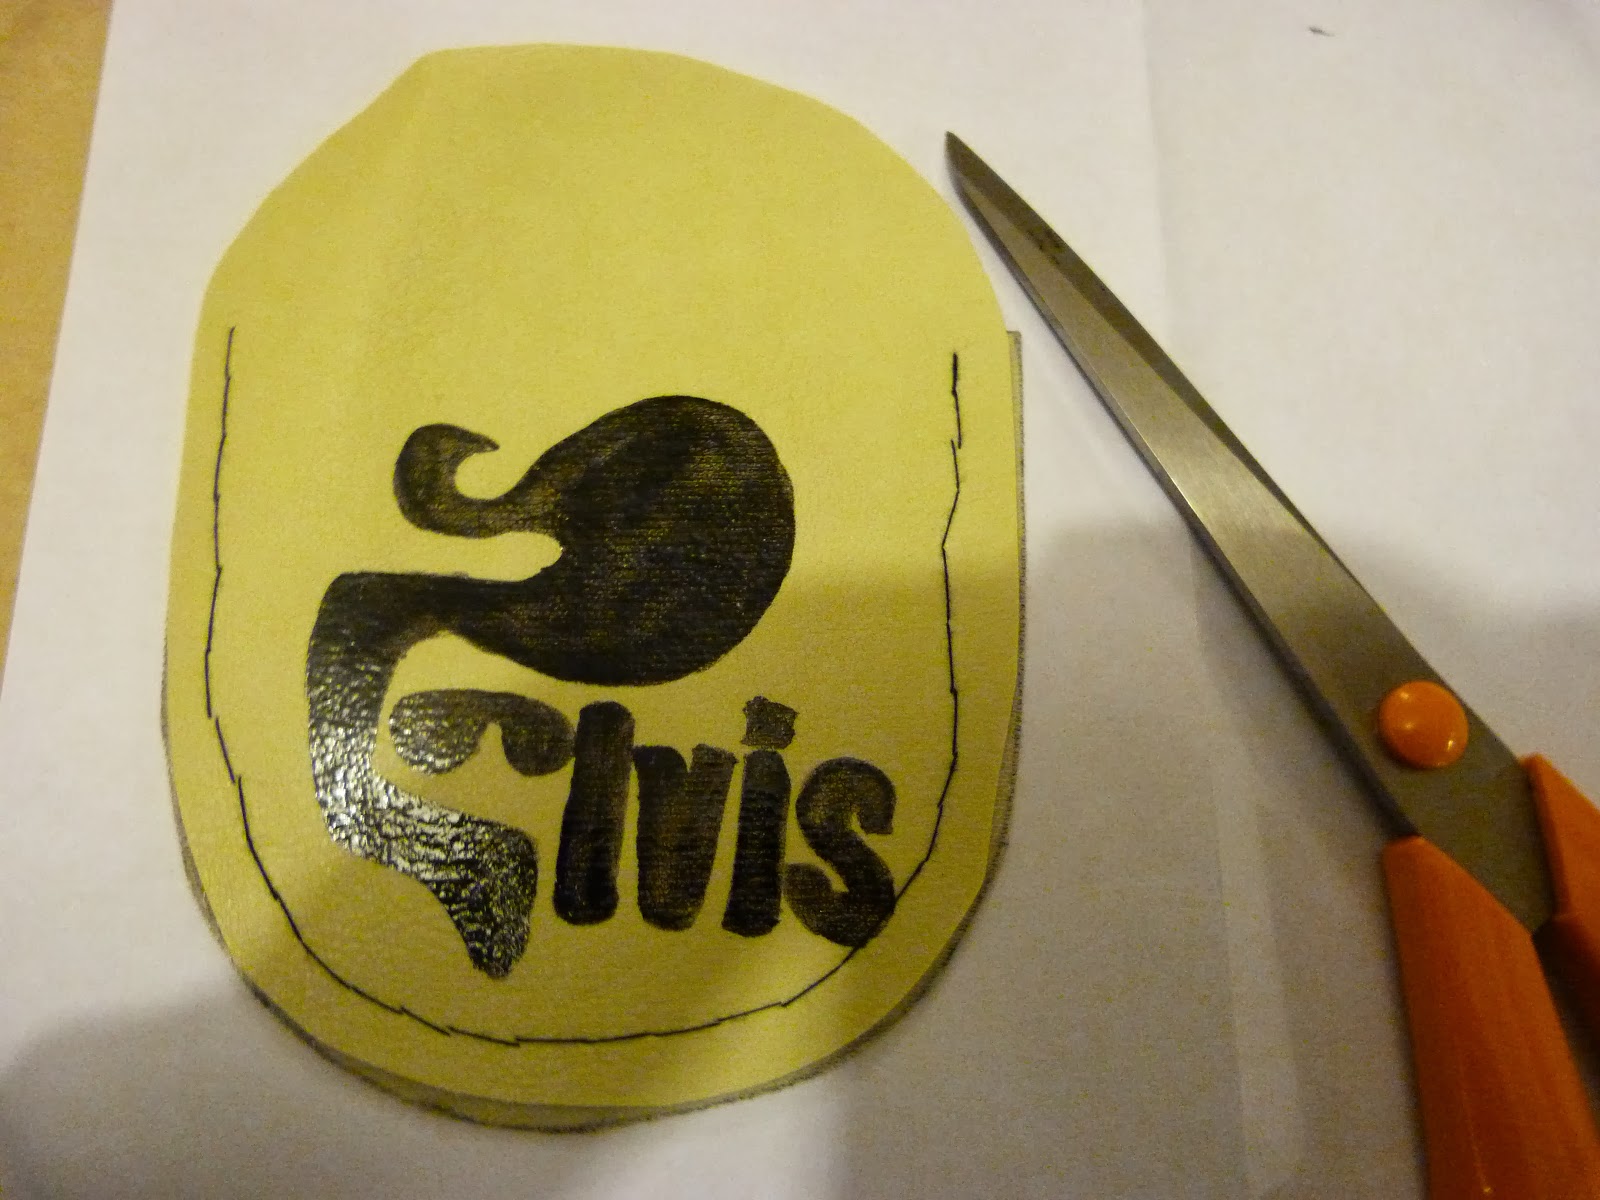
12. This is the design I chose for the front of the purse as the flap will stand out and not look out of place

13. I traced the writing on the front and back of the paper

14. I placed the tracing on an angle and traced it with a blunt pencil
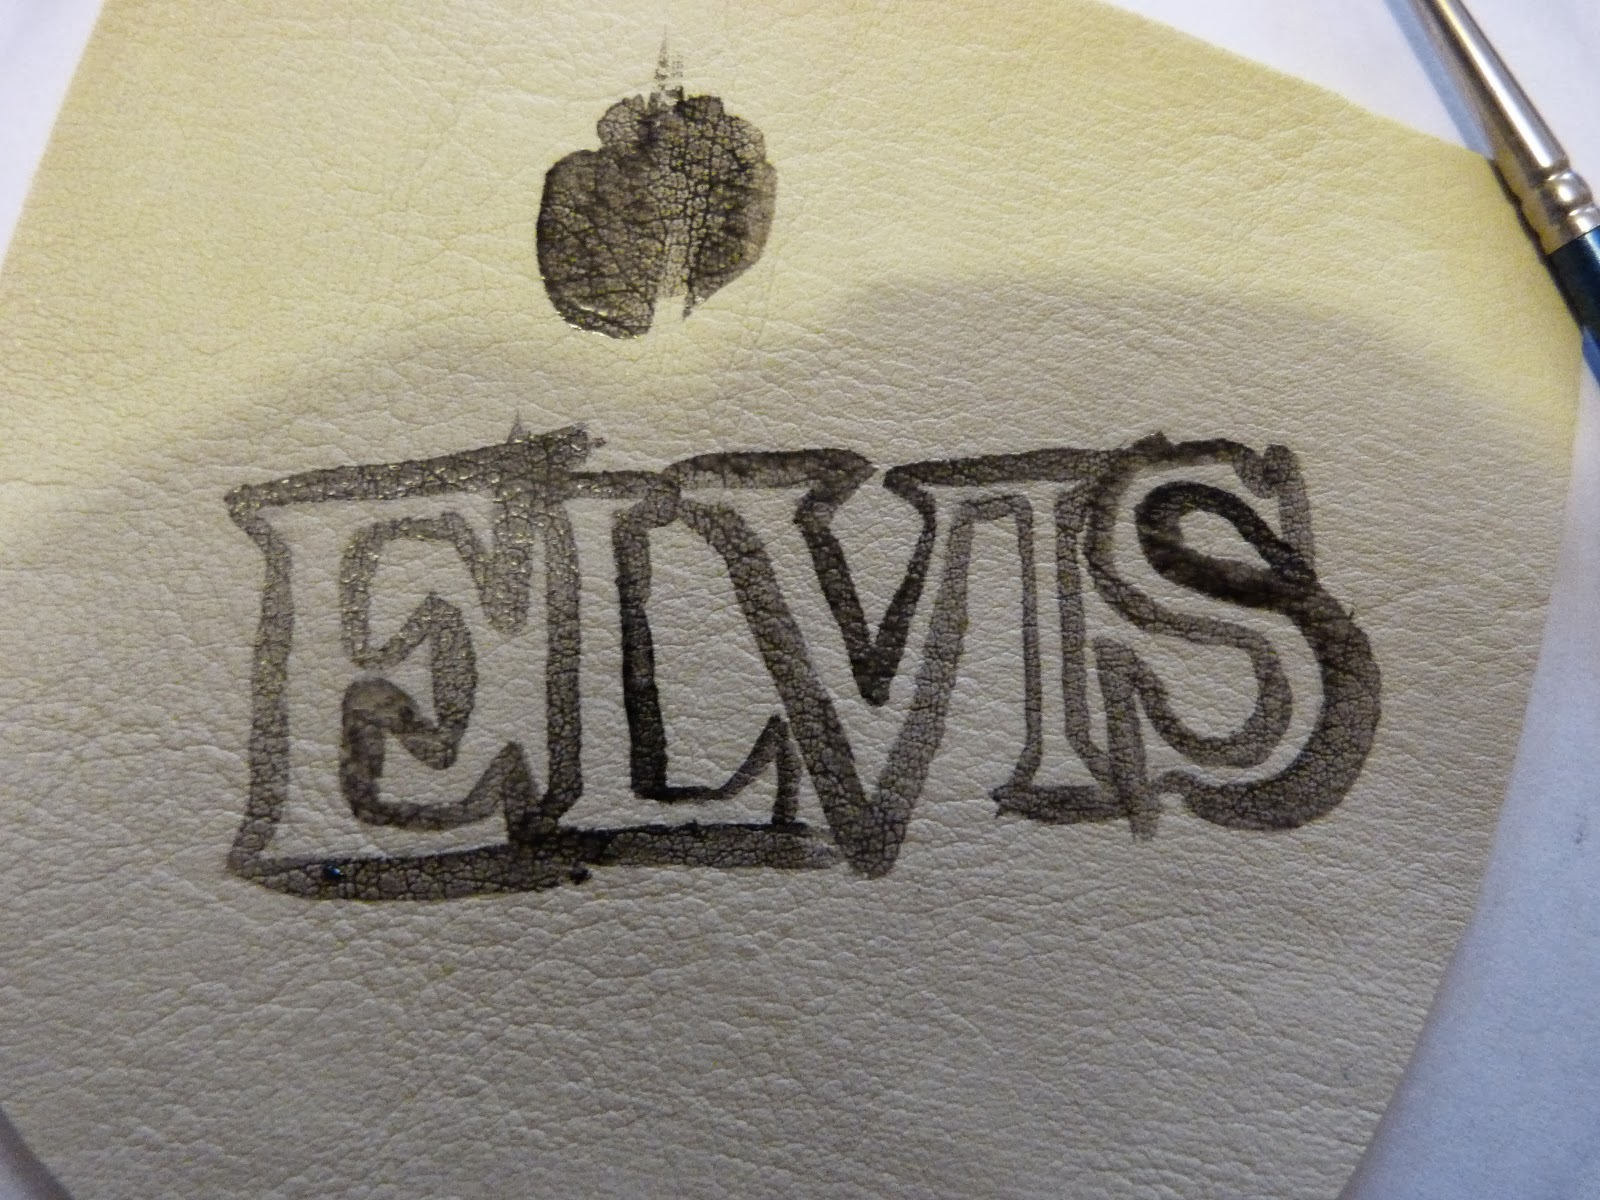
15. I went round the outside of letters with a fine paintbrush

16. I painted the rest with a thicker brush

17. When it is dry I put a bobby pin to hold the two pieces of fabric in place when I was sewing, as a pin would mark the fabric

18. I used black thread and an overstitch, I could not use a sewing machine as the foot stuck to the fabric

19. This is what the front looks like when it is sewn up

20. This is what the back looks like when it is sewn up
21. I trimmed around the edges to neaten it up

22. I added a popper to hold the purse shut, I had these old ones at home that are no sew

23. There is a spikey bit I put that on the outside and put a pencil on the right side to push the spikes through

24. I put one half of the popper onto the spikey bit

25. Place the black bit into a cotton real, wooden cotton reals work best, you place the black bit in the cotton real onto the part of the popper and hit the top of the cotton real with a hammer, do this on the flap and the top bit of the pouch
26. Enjoy the final product!!!


I gave it to my friend with a notepad and pen by a brand that she loves. I think she really liked the present and I really enjoyed making it for her.

Hope to write again soon!!!
No comments:
Post a Comment